

Setup Guide
The 1ClickImpact setup wizard walks you through four simple steps to start making environmental impact with your store. The whole process takes about 2 minutes.
Every new store gets 100 free trees and 230 plastic bottles removed (10 lbs of ocean waste) at no cost. You won't be billed until your free tier is used up.
Step 1: Budget and Categories
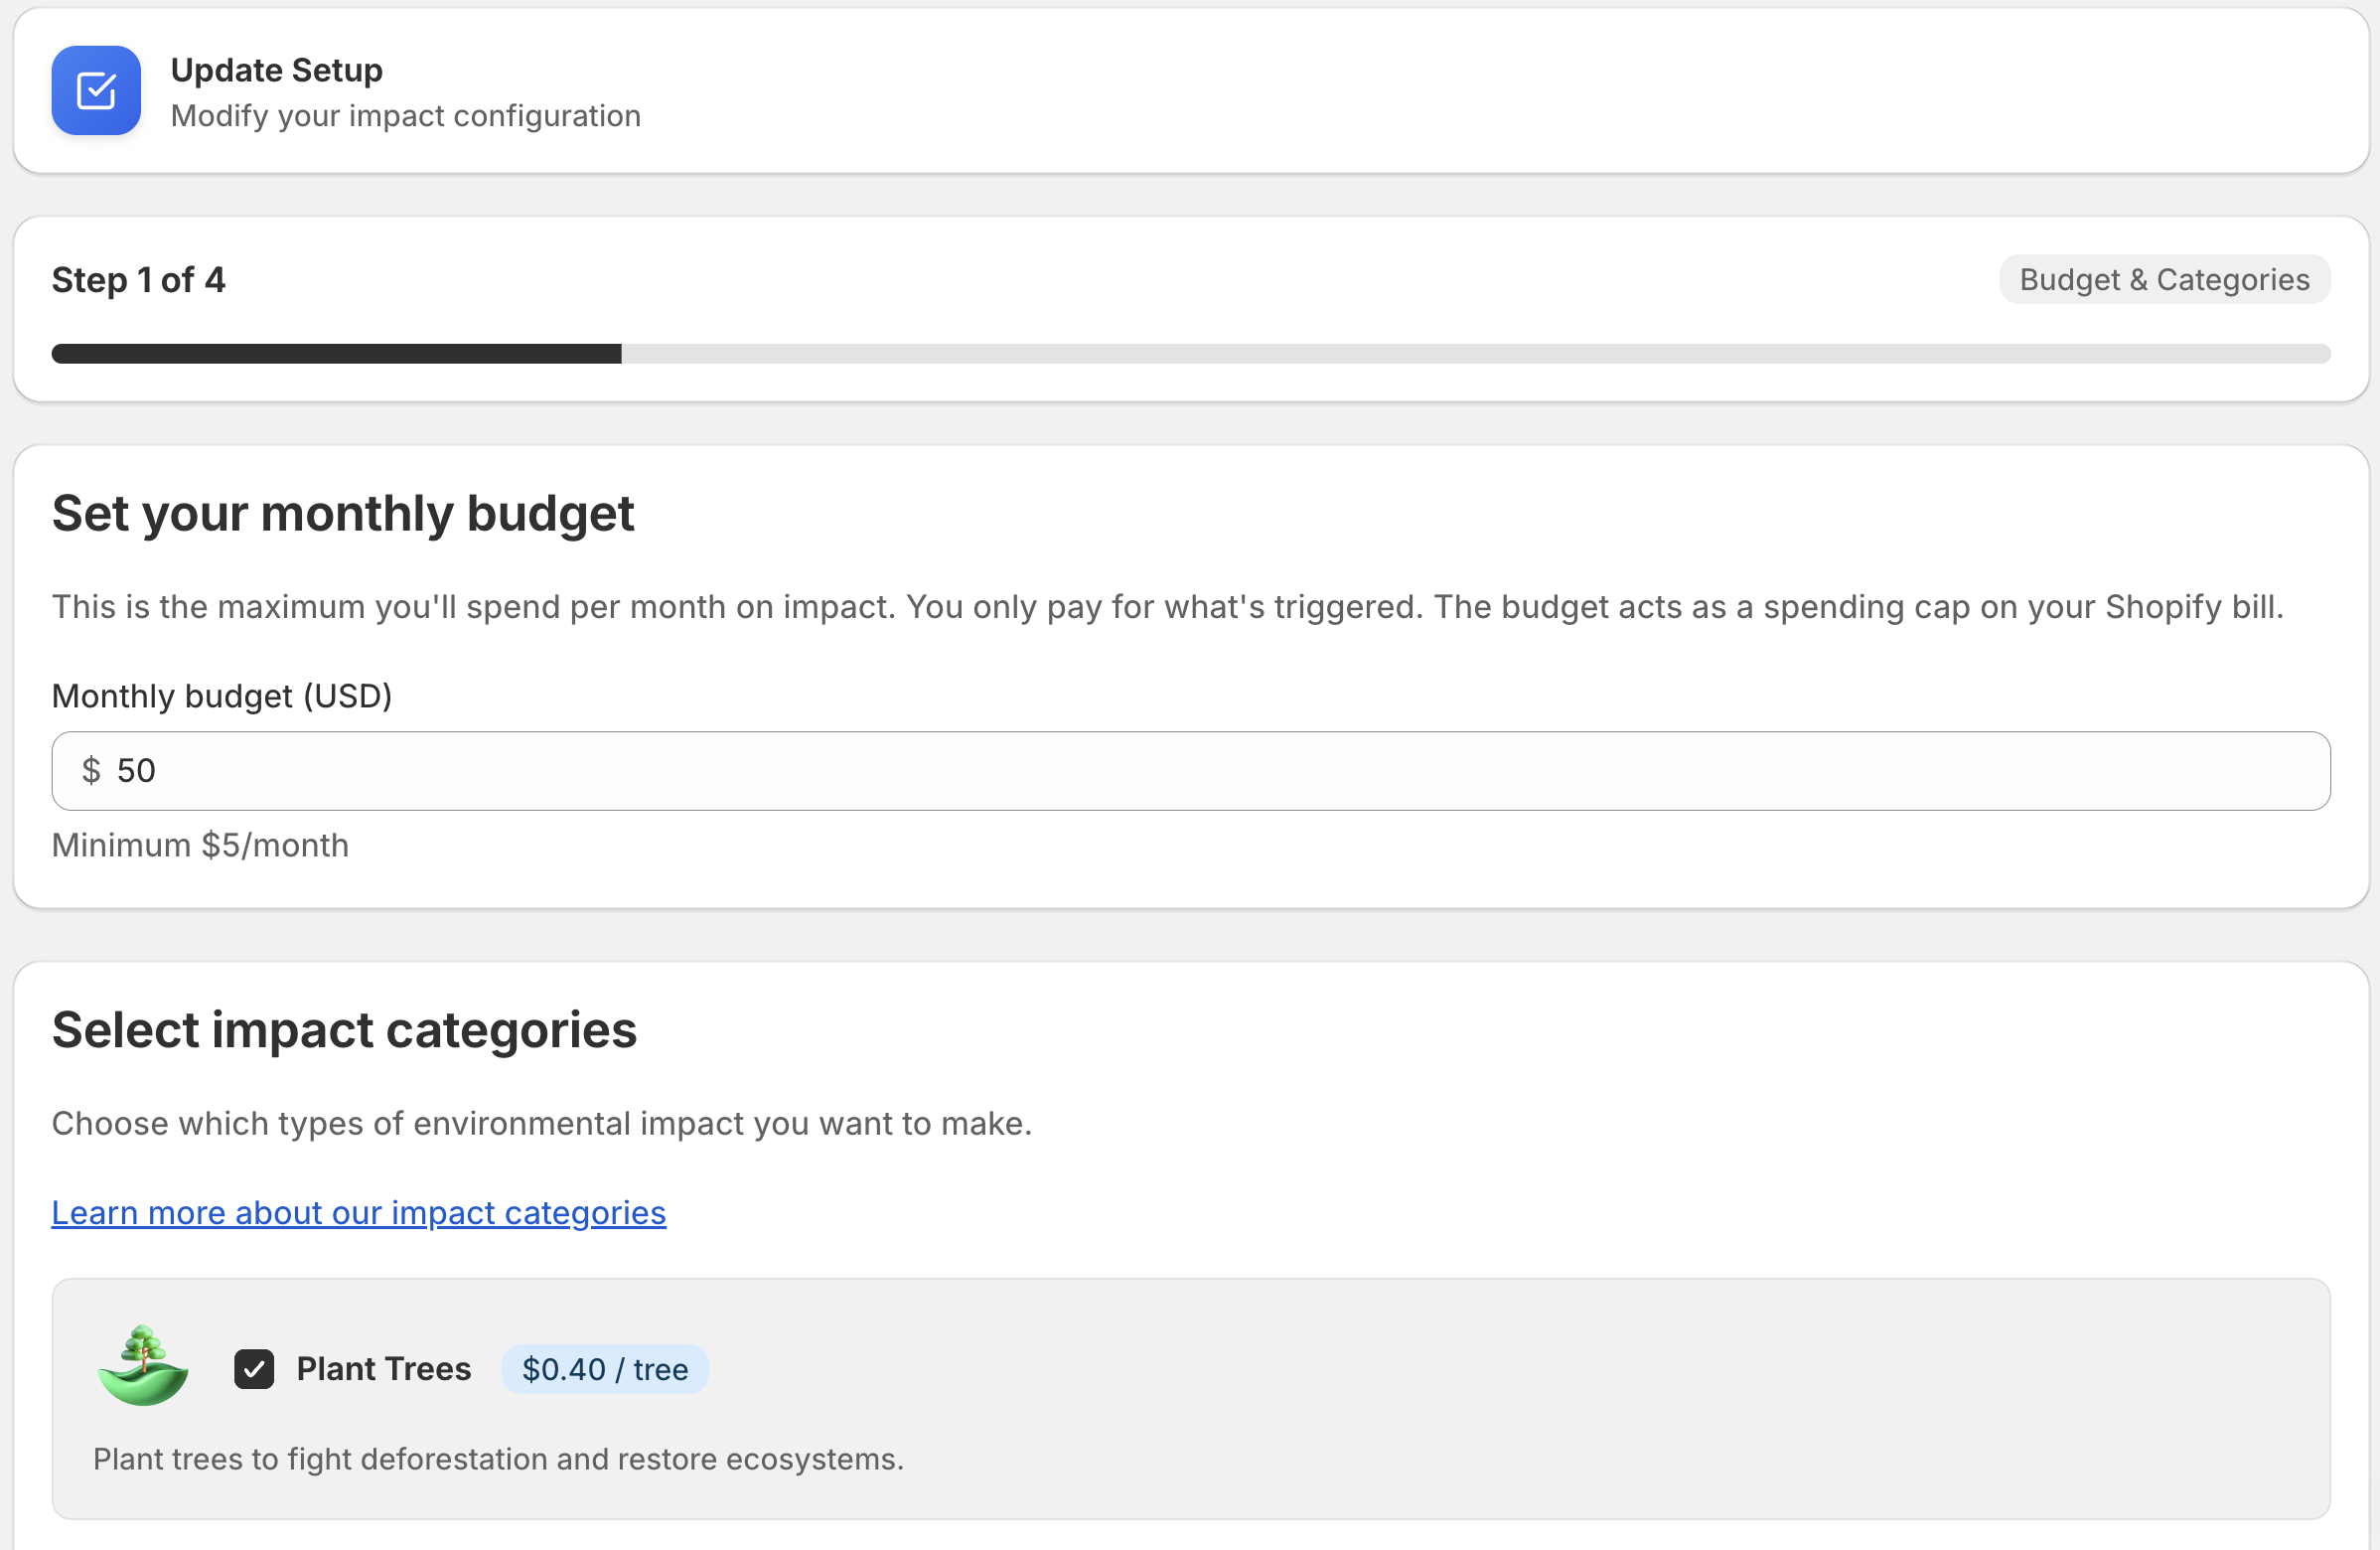
Set your monthly budget
Your budget is the maximum you'll spend on impact each month, billed through Shopify. The minimum budget is $5/month. You can change this at any time.
Choose your impact categories
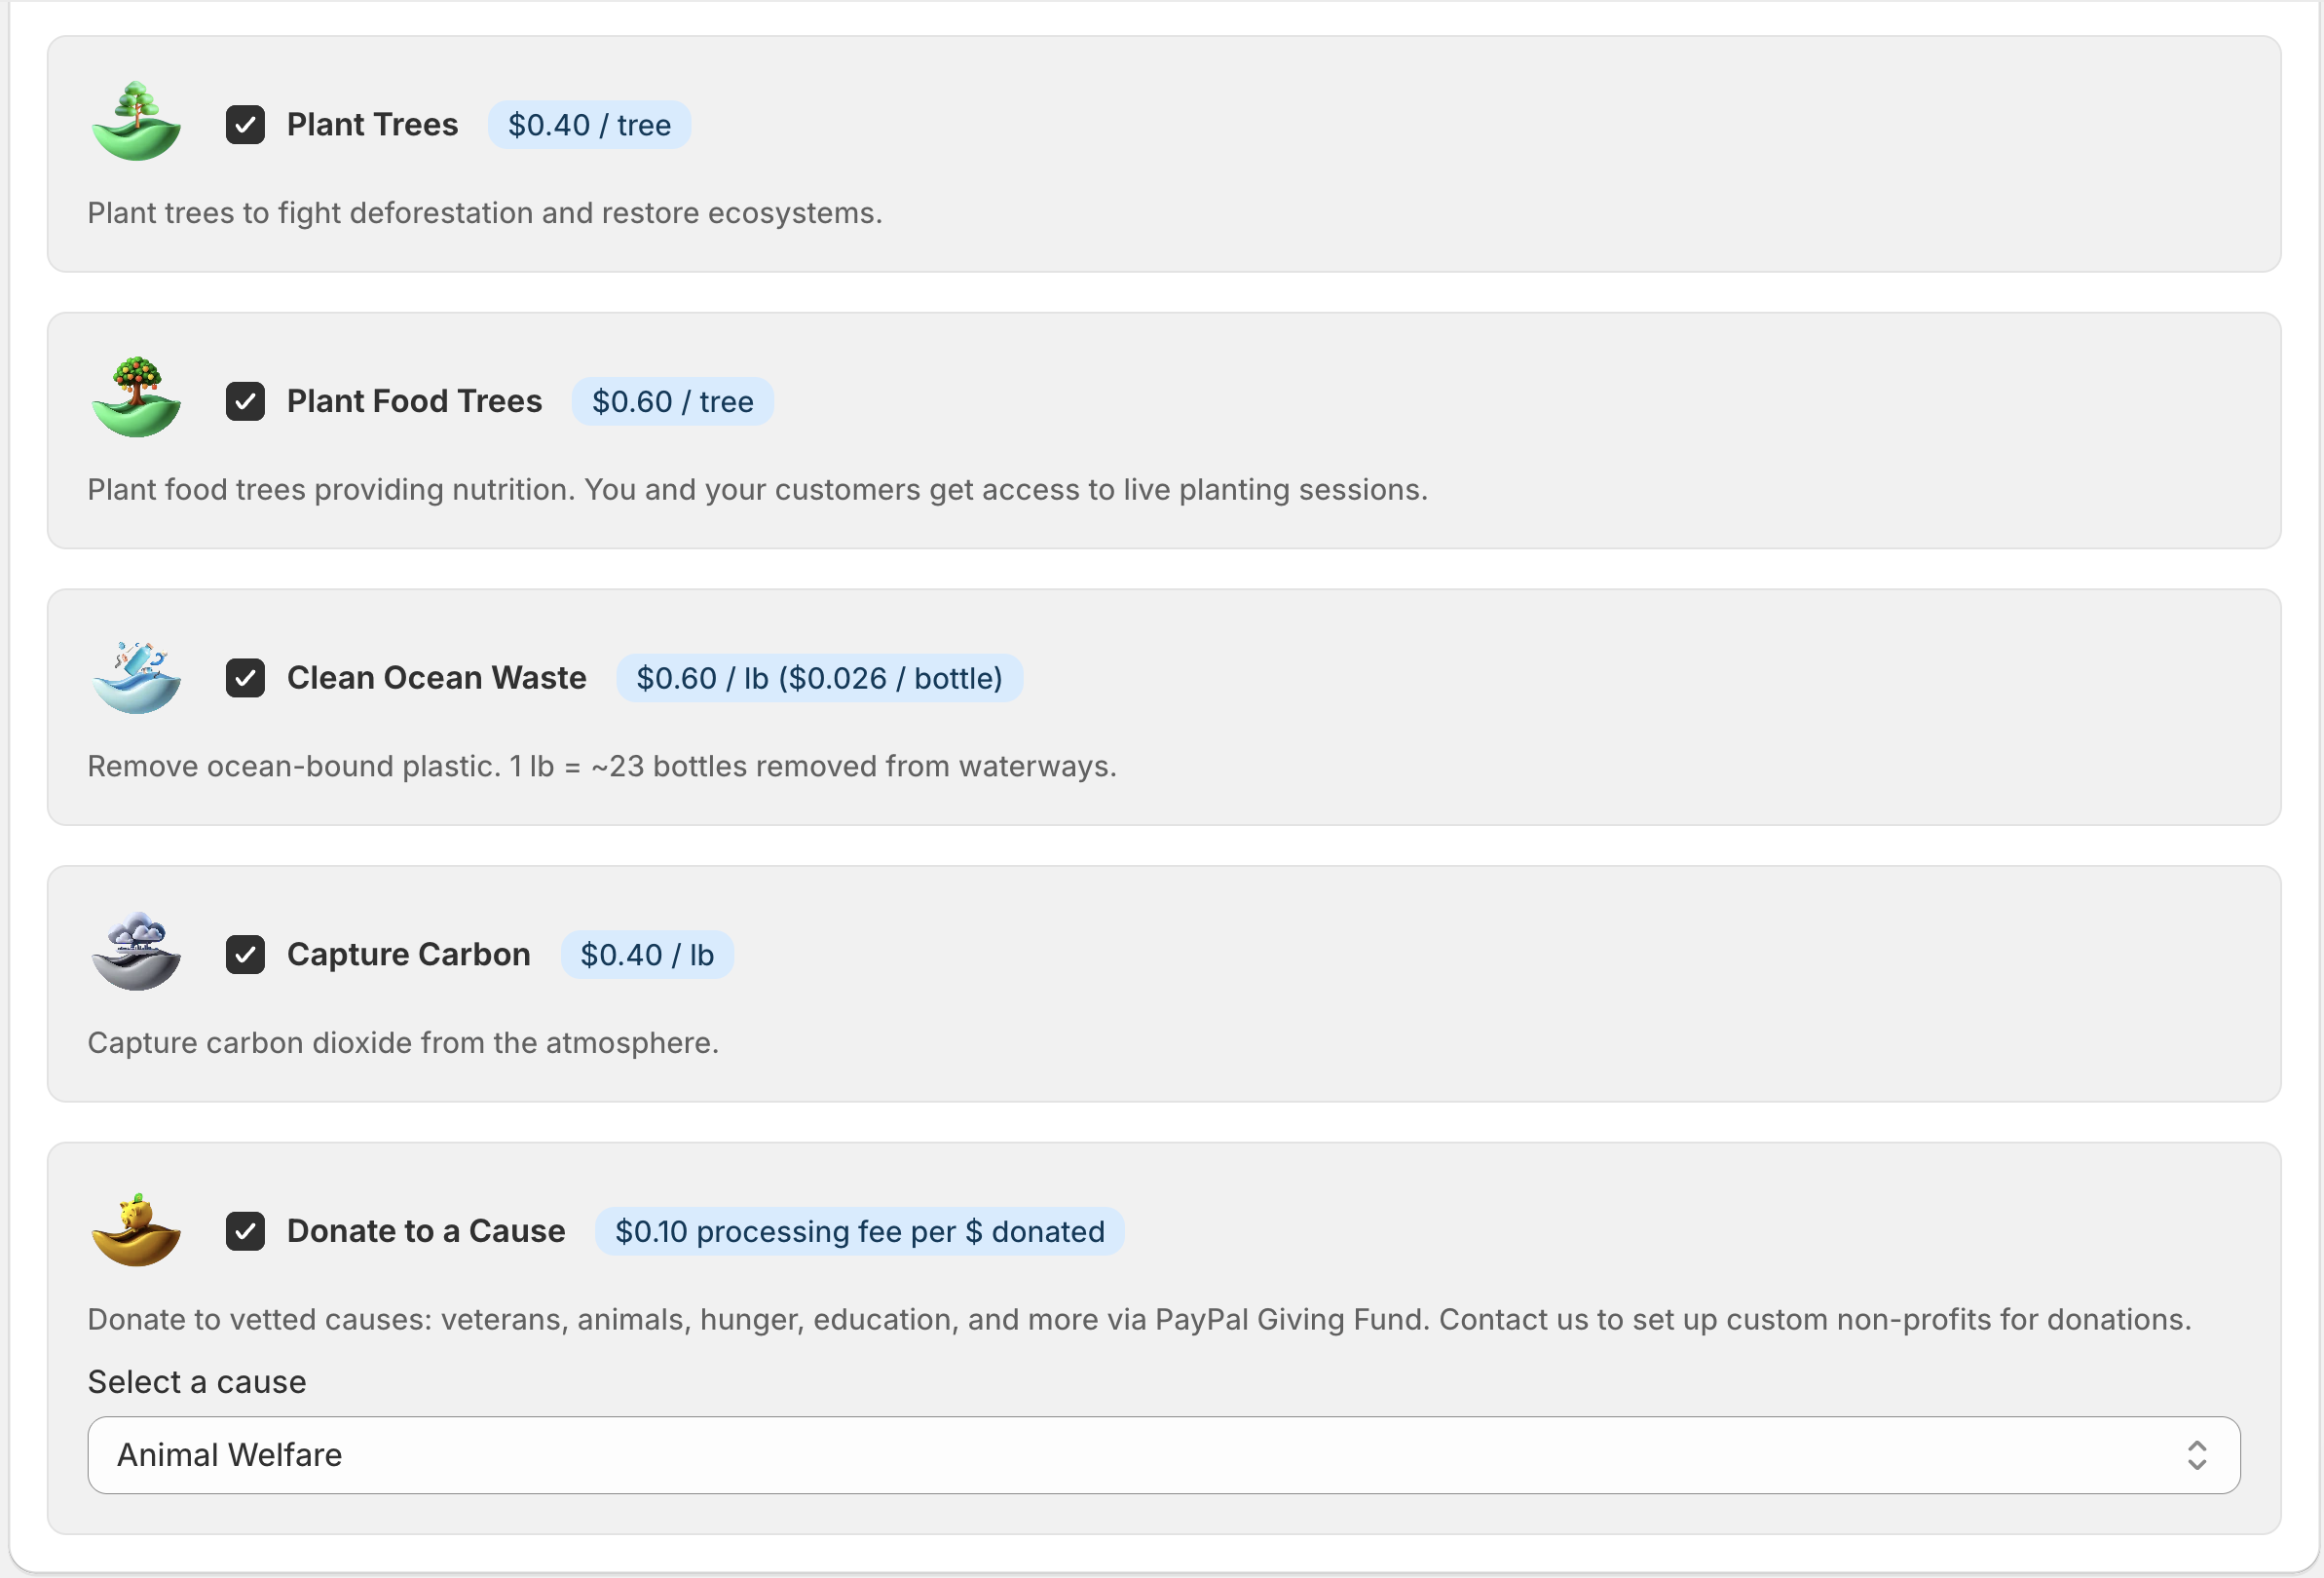
Pick one or more categories you want to support:
- Plant Trees — $0.40 per tree
- Plant Food Trees — $0.60 per tree
- Clean Ocean Waste — $0.60 per lb (~23 bottles)
- Capture Carbon — $0.40 per lb of CO₂
- Donate to Causes — donated to a vetted cause of your choice (Veterans, Animal Welfare, Hunger Relief, Education, Climate Action, Clean Water, Healthcare, and more)
You can enable or disable categories at any time after setup.
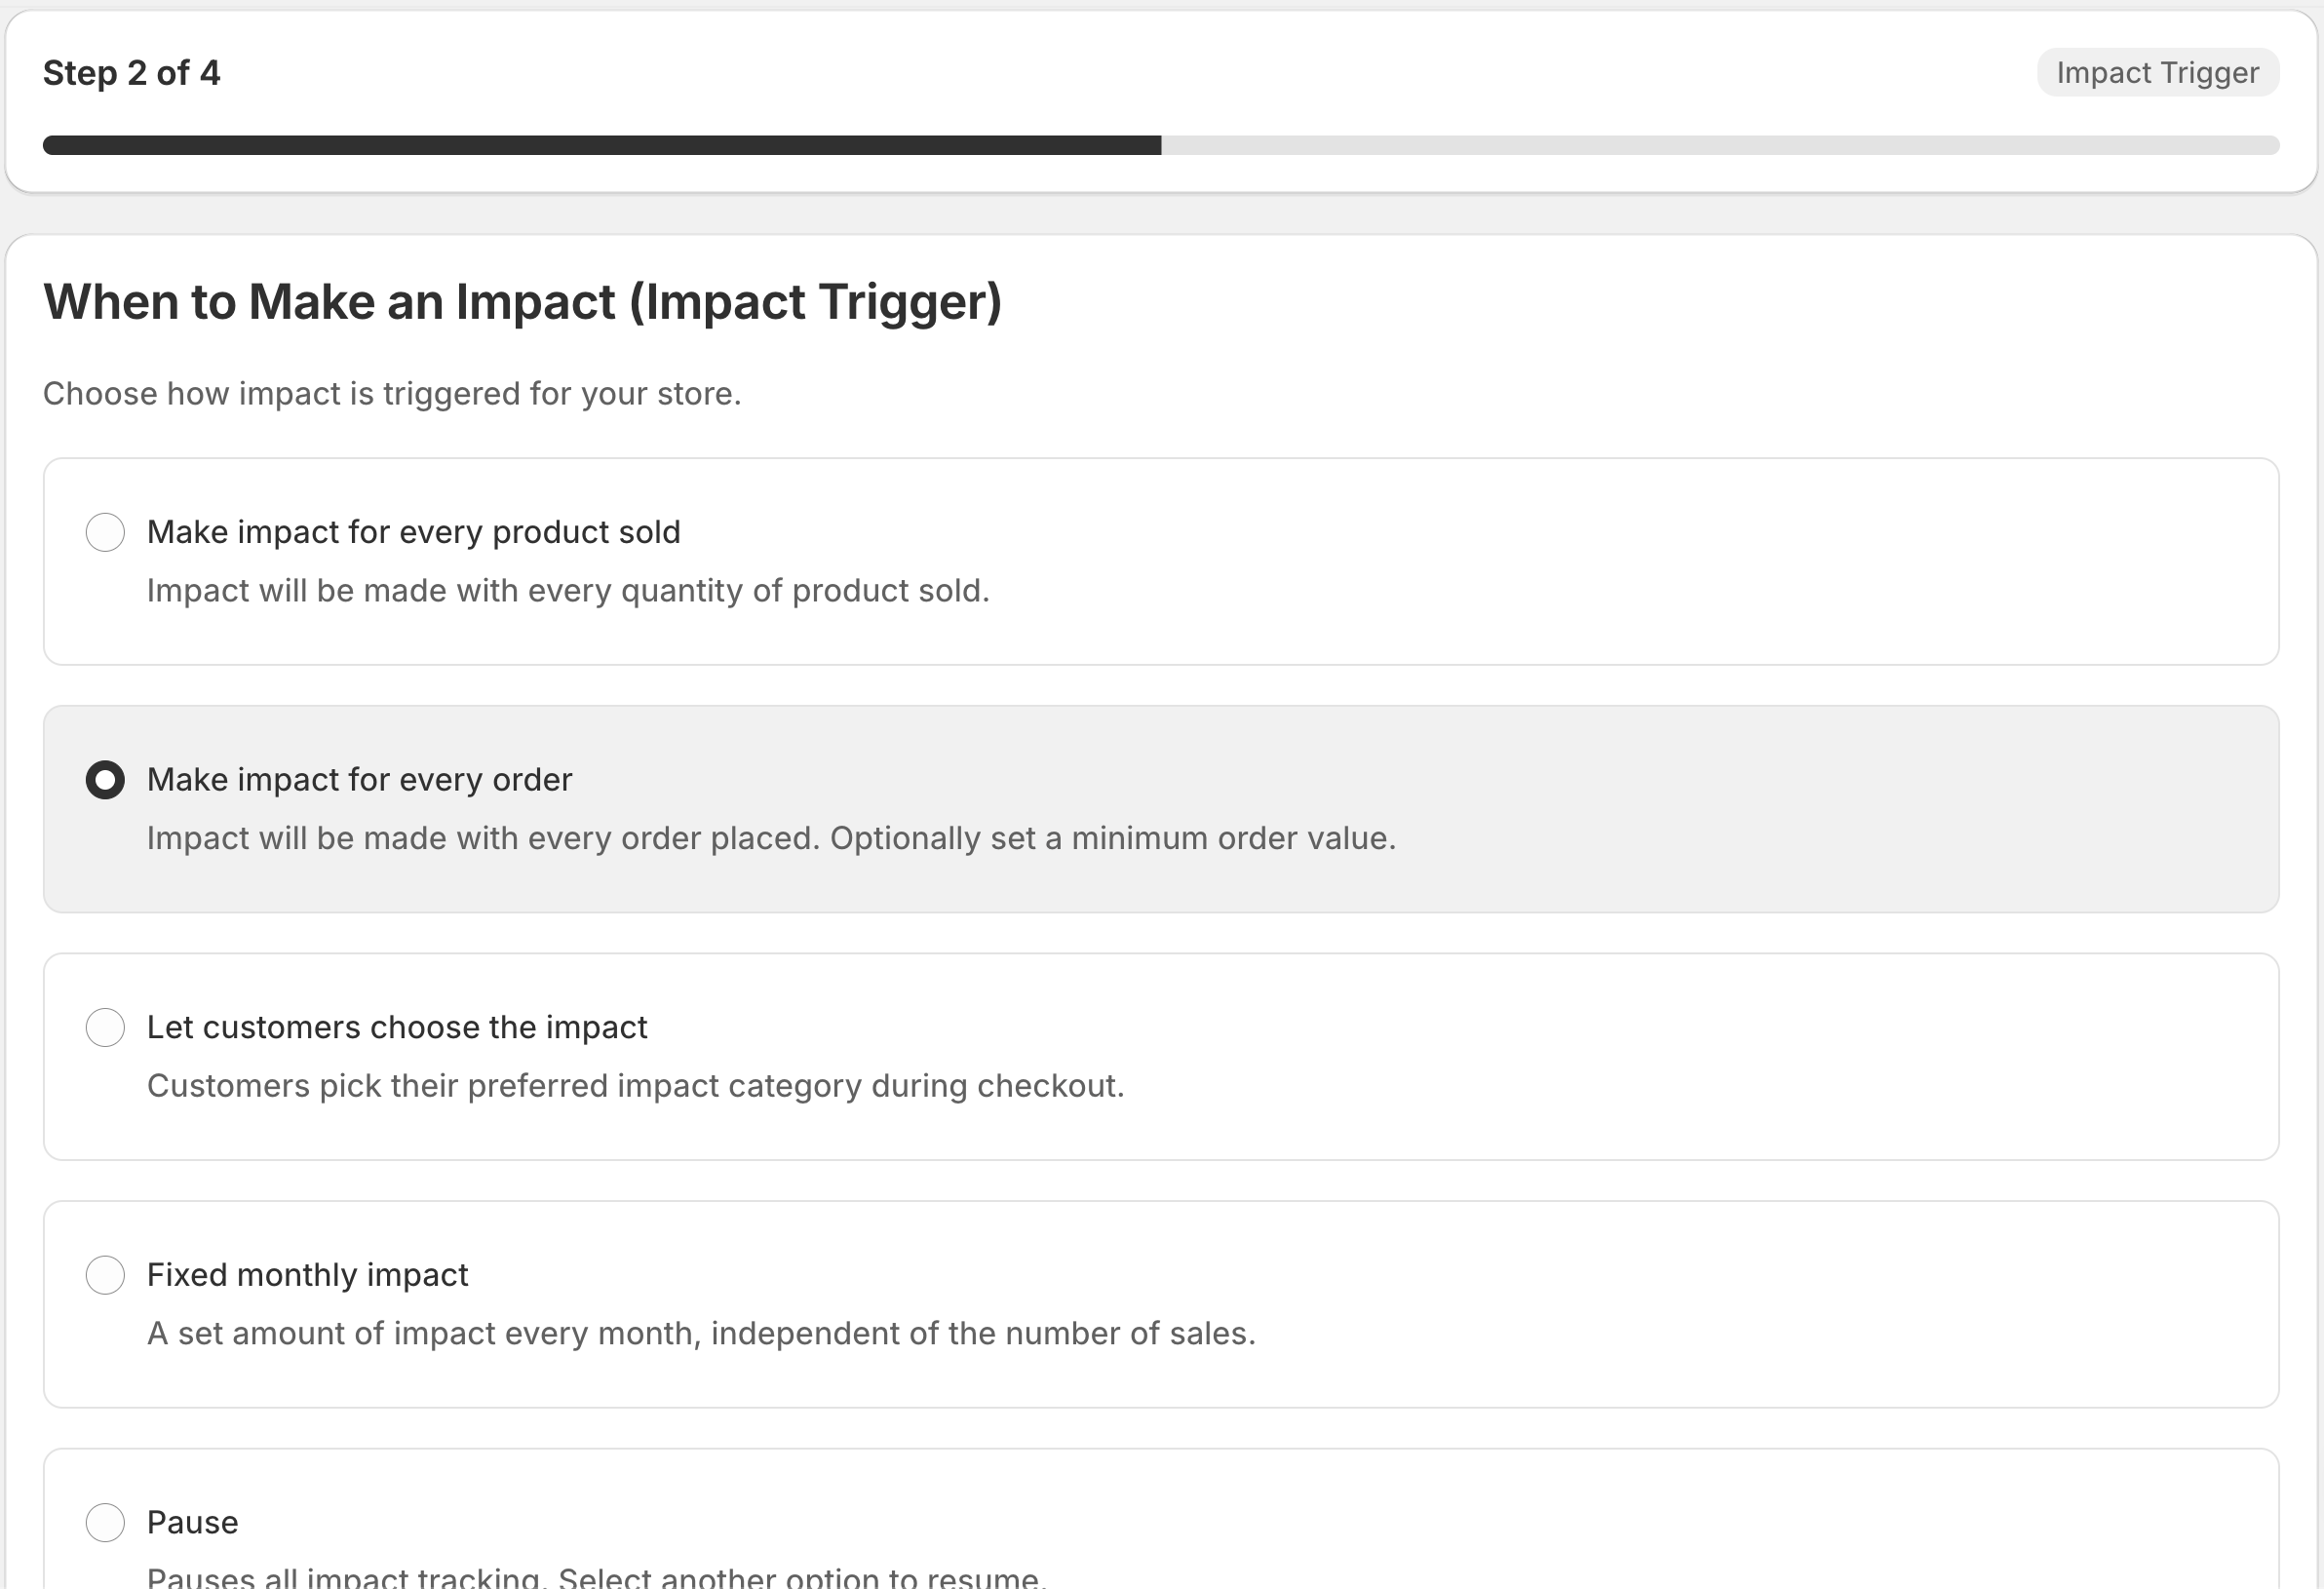
Step 2: Trigger Mode
Choose when impact should be triggered:
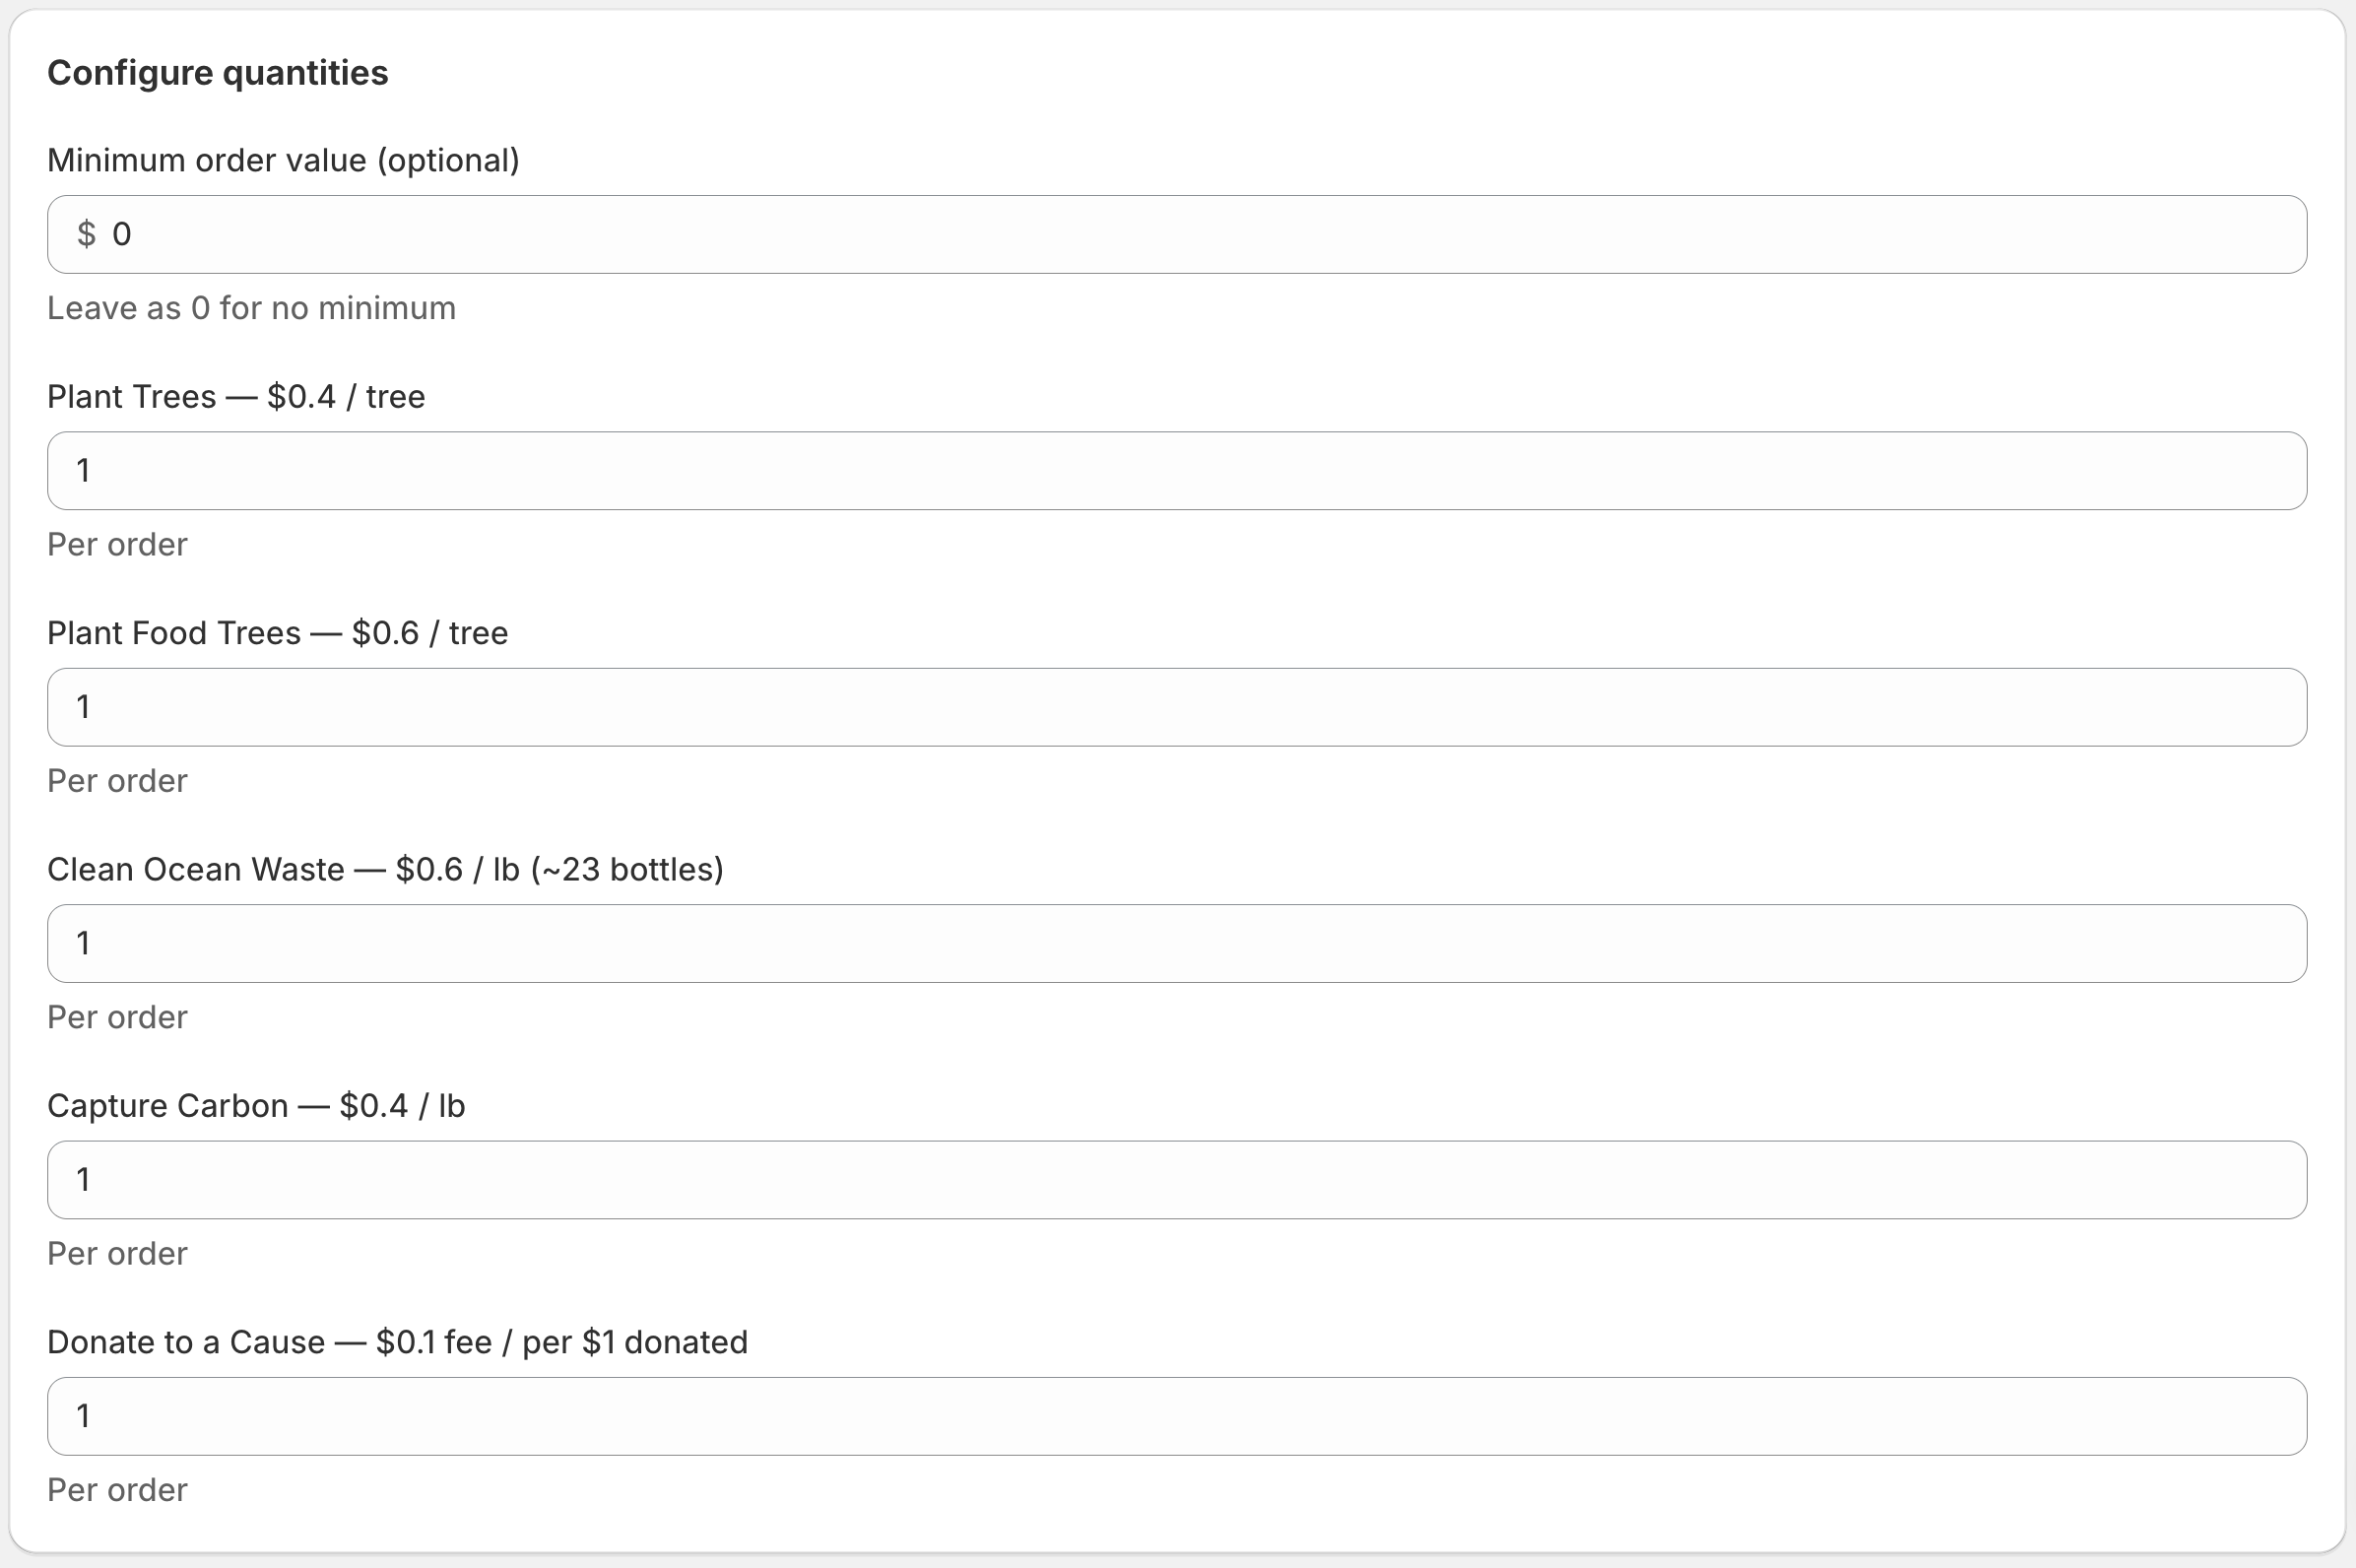
- Per Order — Trigger impact on every order (optionally set a minimum order value)
- Per Product — Trigger impact for each product sold, multiplied by quantity
- Customer Choice — Let customers opt in to impact at checkout
- Fixed Monthly — Run a single batch of impact once per month
- Pause — No impact triggered (useful if you need a break)
Pick the mode that best fits your business. You can switch modes later without losing any existing impact.
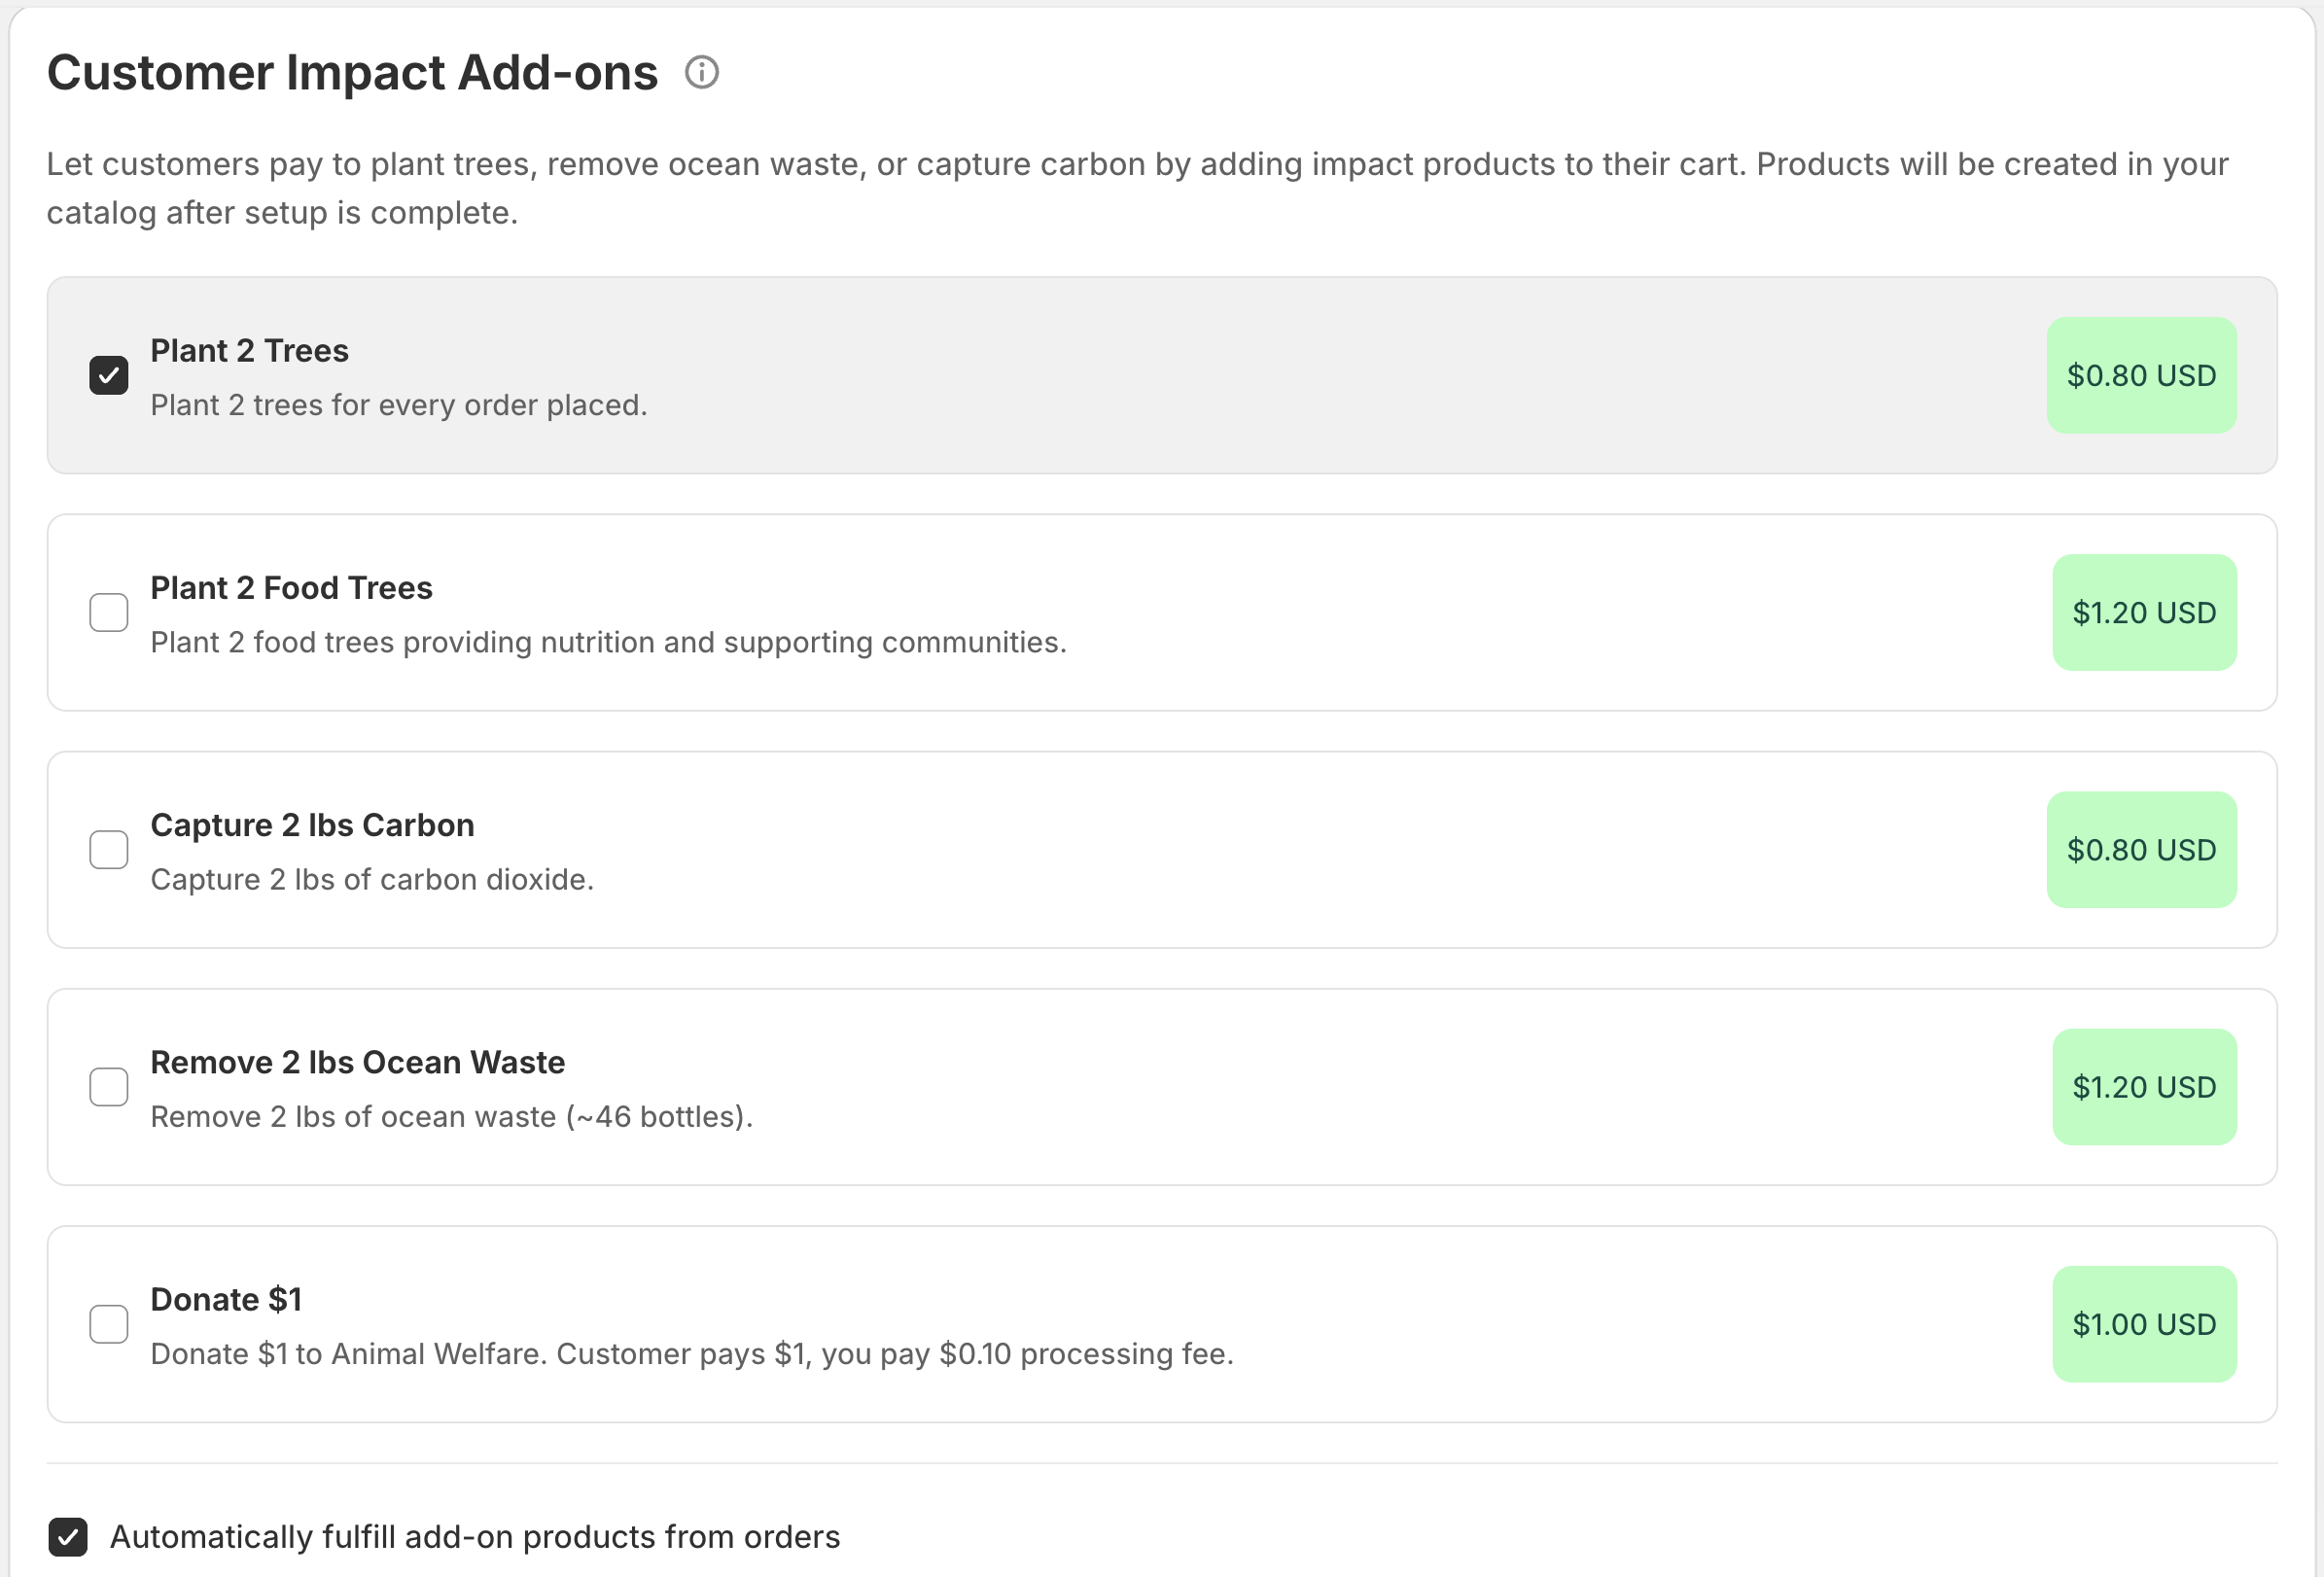
Step 3: Customer Add-ons
Customer add-on products let your customers contribute extra environmental impact at checkout. The customer pays for these impacts — not you. During this step, the wizard creates Shopify products that customers can add to their cart.
This step is optional. If you don't want to offer customer add-ons, you can skip it and come back later.
Step 4: Review and Go Live
Review your settings — budget, categories, trigger mode, and add-ons. When everything looks right, click Go Live.
You'll be redirected to Shopify's billing approval page. Approve the subscription to activate 1ClickImpact on your store.
The Shopify billing approval is required even during the free tier. Shopify needs an active subscription to track usage-based charges. You won't be charged until your free impact is used up.
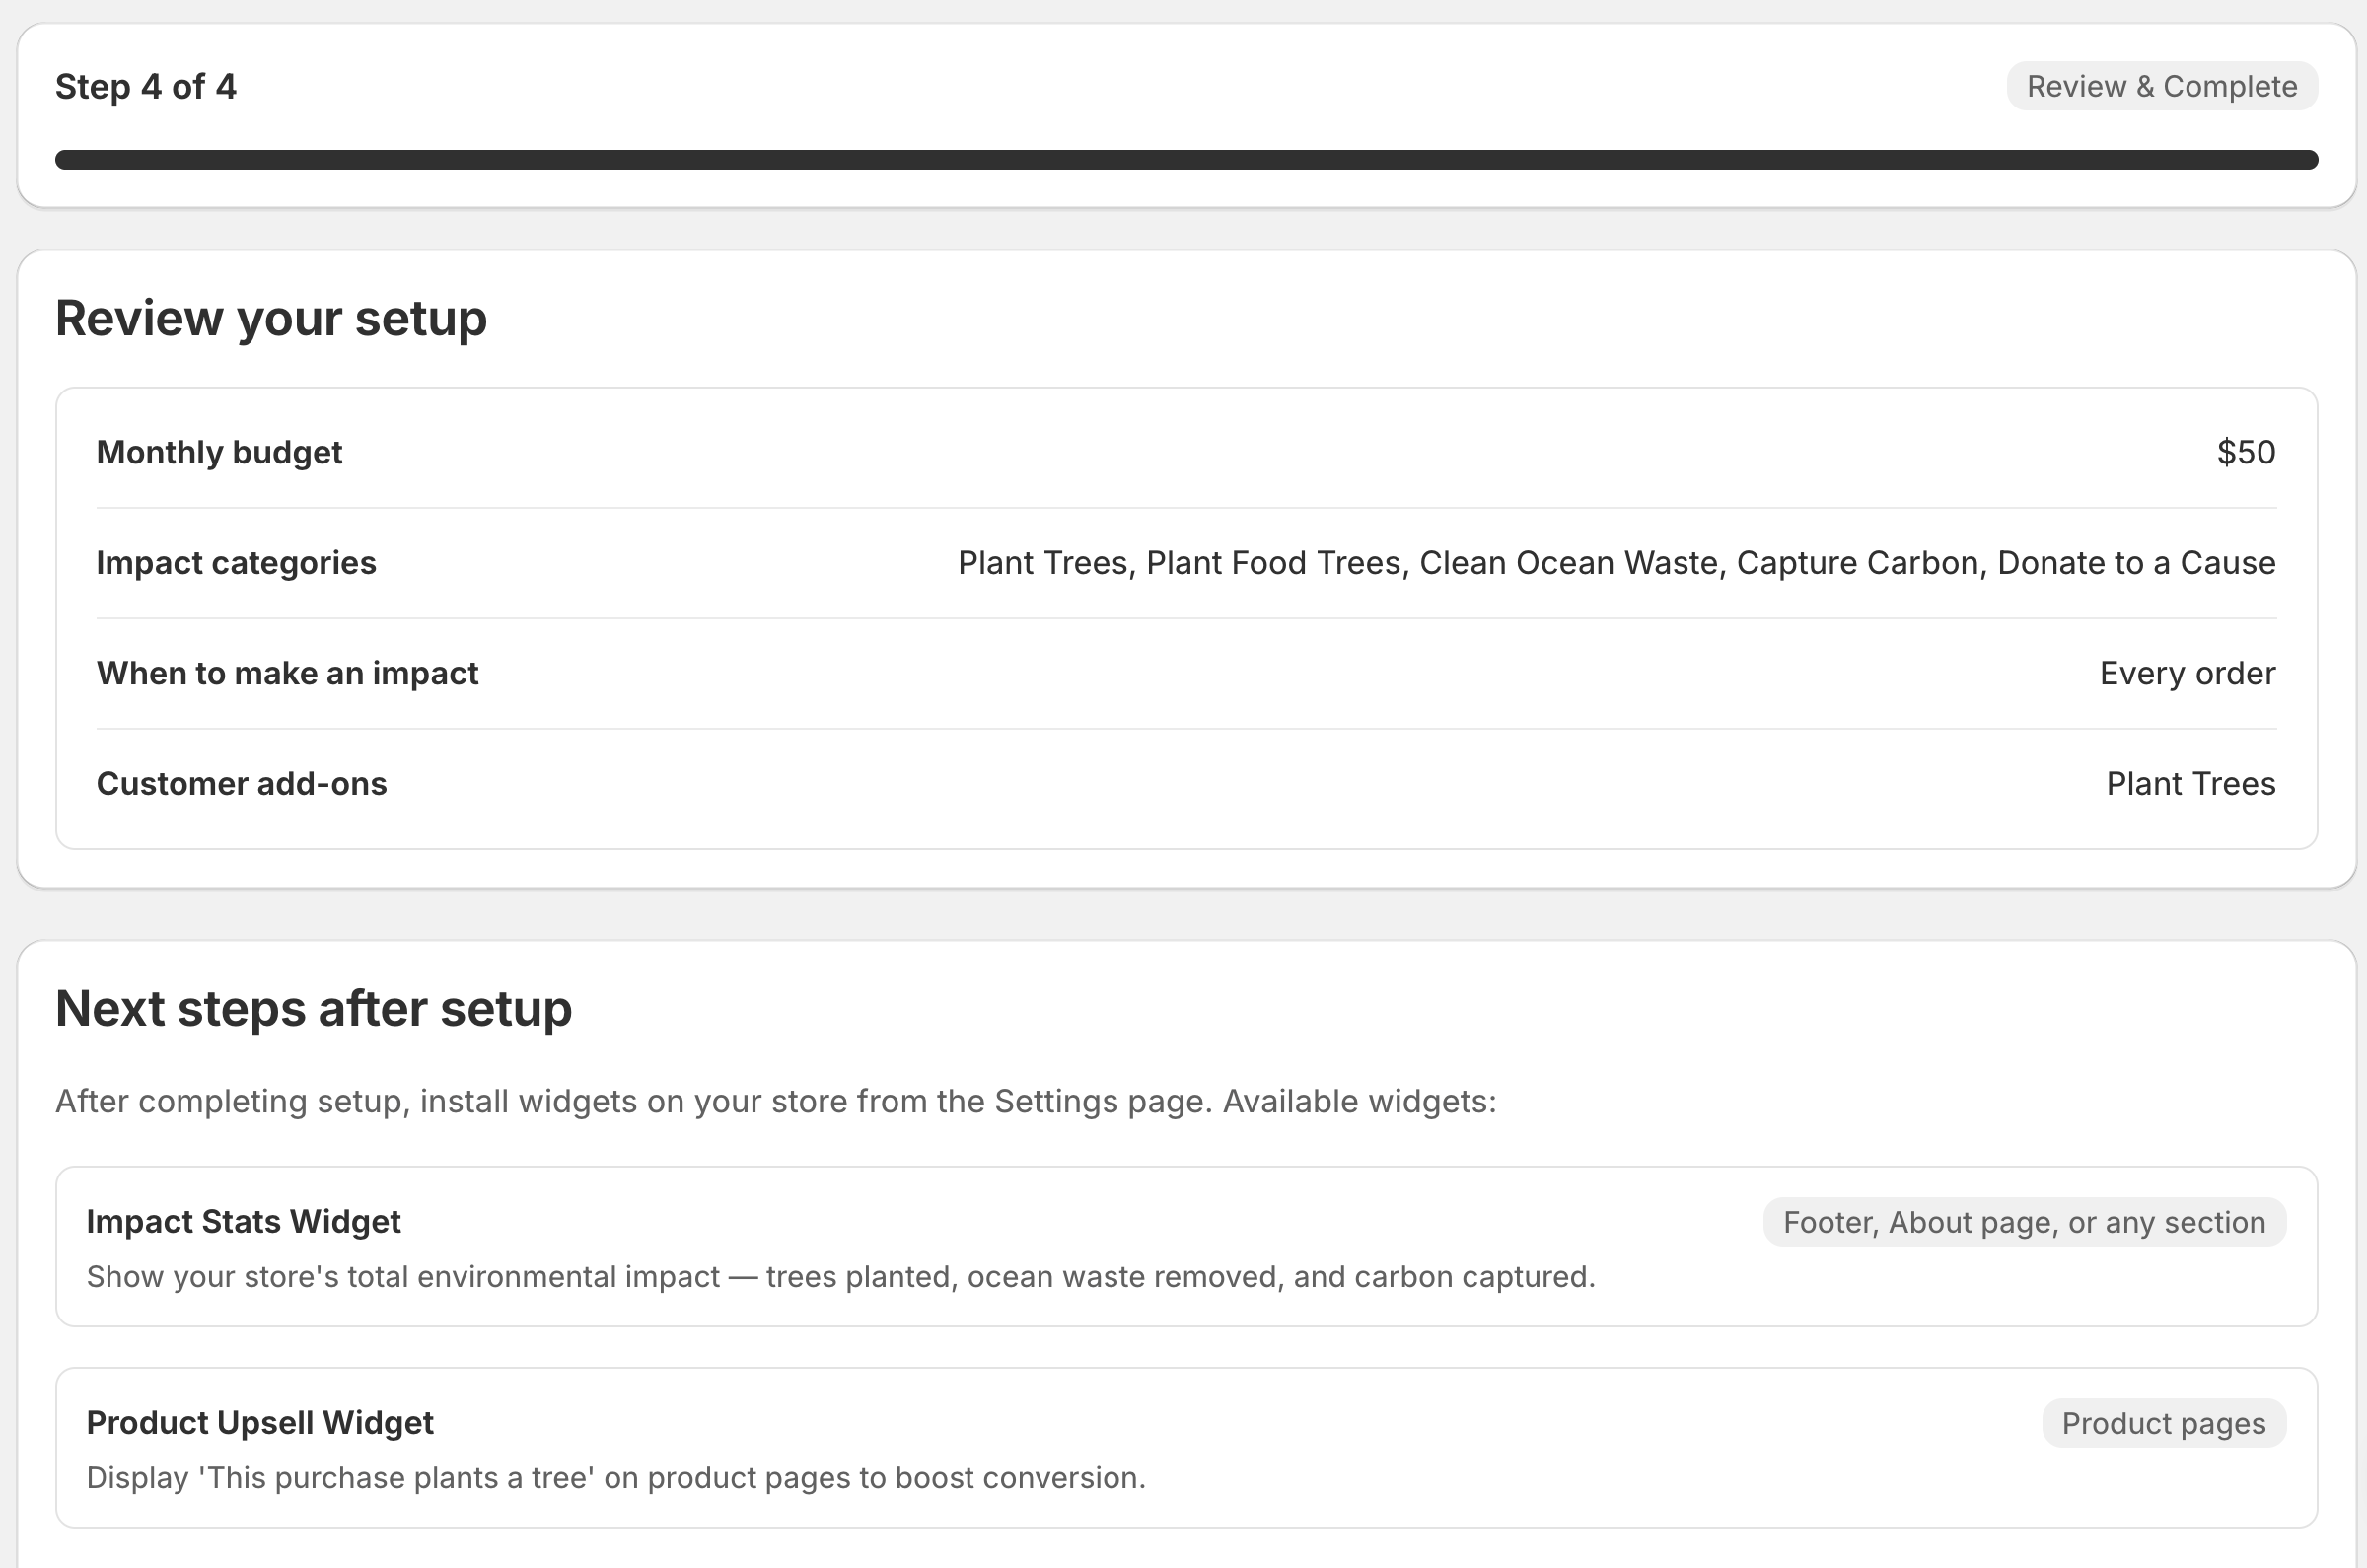
After setup
Once you've completed the wizard:
- Impact will start triggering based on your chosen mode
- Visit the Home page to see your impact stats and free tier progress
- Add widgets to your storefront so customers can see the difference their purchases make
- Adjust your settings anytime by going back to the Setup page